Made for Roblox. Tuned for MM2.

Your Roblox game.
Your crosshair.

Build a custom on-screen crosshair for Roblox games, including Murder Mystery 2 (MM2). Choose cute icons, glowing rings, or clean dots without changing Roblox.

  • Roblox games + MM2
  • Visual-only overlay
  • Fully customizable
RBXAim Crosshair PRO
Active
CUSTOM CROSSHAIR · LIVE
OPACITY92%
Selected Dark Jester
Made for Roblox games
22 Visual presets
01
Visual-onlyNo gameplay automation
02
Roblox-onlyMM2 and other Roblox games
03
Visual-first presetsPixel, cute, anime & clean

Roblox crosshair toolkit

Everything your custom
crosshair needs.

Tune a clear aim point without covering the action. Every preset is quick to recognize, resize, recolor, and switch between Roblox experiences.

01SIGNATURE FEATURE

Crosshairs for every style

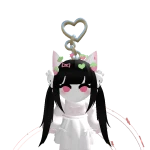
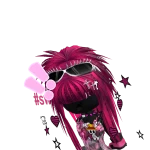
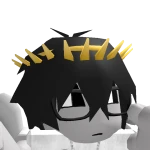
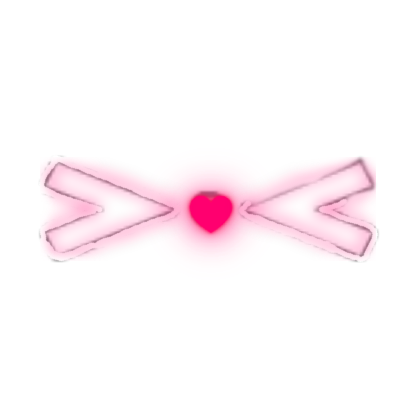
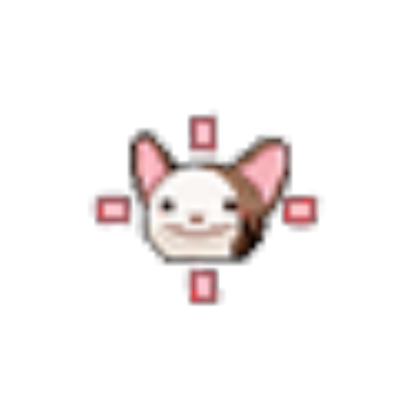
Choose pixel cats, heart targets, anime sidekicks, meme presets, and clean glowing rings. Adjust size, glow, and opacity for your Roblox game.

02

Smooth & lightweight

A focused overlay designed to stay responsive without distracting from your Roblox session.

03

Visual-only utility

No automated aiming, movement, inputs, or game-file changes. Just a crosshair you control.

No game modification
04

Instant presets

Swap your favorite styles quickly for different Roblox games, maps, lighting, and moods.

05

High contrast

Keep your crosshair easy to identify against bright scenes and deep shadows.

06

Simple controls

A compact extension panel keeps every adjustment clear and close at hand.

From Chrome to Roblox

Set up your custom crosshair.
Three simple steps.

  1. 01

    Download RBXAim

    Get the extension package and extract it to a permanent folder on your computer.

  2. 02

    Choose your preset

    Pick a cute icon, clean dot, or glowing ring that matches your Roblox style.

  3. 03

    Open your Roblox game

    Use it across Roblox experiences, with Murder Mystery 2 as a featured preset profile.

Manual Chrome installation

Install with
Developer mode.

RBXAim is installed as an unpacked Chrome extension. Download the ZIP, extract it once, and follow these steps — no Chrome Web Store required.

  1. 01

    Download & extract

    Download the RBXAim ZIP and extract every file into a folder you will keep.

  2. 02

    Open Extensions

    Paste chrome://extensions into Chrome’s address bar and press Enter.

  3. 03

    Enable Developer mode

    Turn on the Developer mode switch in the upper-right corner of the page.

  4. 04

    Load unpacked

    Click Load unpacked and select the extracted folder that contains manifest.json.

  5. 05

    Pin & play Roblox

    Pin RBXAim from Chrome’s extensions menu, choose a preset, then open Roblox or MM2.

Keep the extracted folder. Chrome loads the extension directly from it. Only install files you trust.

Official Chrome guide

Custom crosshair library

Find your perfect crosshair.

ACTIVE PRESETCandy Kitty
Pixel NyanRETRO PIXEL
Candy KittyCUTE TARGET
Dark CupidDARK CUTE
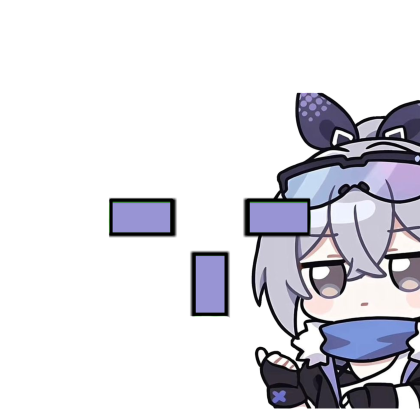
Violet SidekickANIME SIDEKICK
Lone WolfMEME TARGET
Crimson HeartANIME HEART
Golden DiamondNEON VECTOR
Mono RingMONO GLOW
Mint Pixel CatPIXEL CUTE
Heart LockHEART VECTOR
Pixel Bow KittyPIXEL KITTY
Pixel HeartPIXEL HEART
Pink Bow TargetBOW TARGET
Anime PixelANIME PIXEL
Silver Cat HeartCAT HEART
Dark JesterDARK CUTE
Cloud PuppyCLOUD CUTE
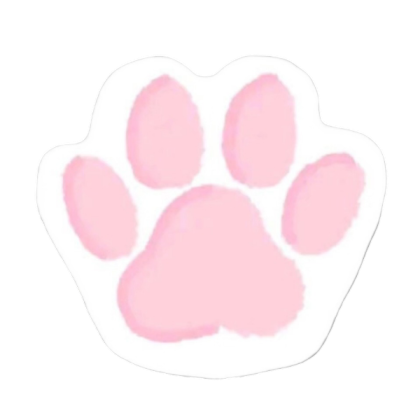
Pink PawSOFT PAW
Heart HandsHEART GESTURE
Mono ArrowsMINIMAL AIM
Bow KittyORIGINAL CUTE
Murder RingMM2 CLASSIC

Roblox player feedback

What players
are saying.

Quick reactions from Roblox and MM2 players using RBXAim custom crosshairs.

PLAYER REVIEW★★★★★
“works good thanks!!”
@Yumiwolf31Roblox player
PLAYER REVIEW★★★★★
“loaded first try, the cute ones are so good”
@hatediarysRoblox player
PLAYER REVIEW★★★★★
“using the pink heart one rn lol”
@CracksWack125MM2 player
PLAYER REVIEW★★★★★
“simple and it does what i wanted”
@strungbylightRoblox player

One crosshair. Every Roblox game.

Make every Roblox experience
feel like yours.

Build your custom crosshair for Roblox games and MM2 in seconds.

Download Extension ZIP file

Download packageThe RBXAim ZIP will be attached here before launch.